

You’ve probably heard that high-quality blog graphics make an article easier to read and massively increase social media shares.
But there’s just one problem… you’re NOT a graphic designer. You don’t have the time to learn complicated design techniques or a big budget to hire a professional.
The good news? You don’t need to! You can design your own blog graphics in minutes—with zero design skills required.
First, grab the FREE Graphics Creator software, and follow these simple steps.
Blog Graphics Design in Six Easy Steps
Designing blog graphics doesn’t have to be overwhelming. With the right tools and a simple process, you can create eye-catching graphics for your blog, Pinterest, and social media in just minutes.
Want to design graphics without hiring a designer? Follow these six fail-proof steps below, and you’ll have your own stunning blog graphics in no time.
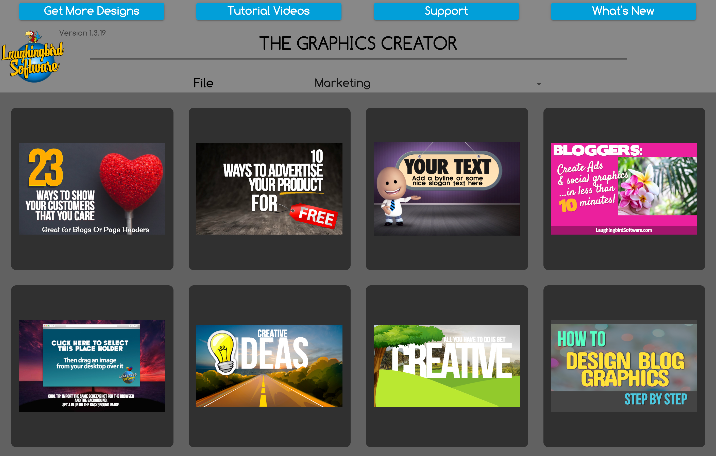
Step 1: Choose a Blog Graphics Template
You don’t have to start from scratch! The free Graphics Creator software makes it easy to design your own blog graphics with ready-made templates.
Simply select the free template set from the pull-down menu and choose one that fits your blog’s vibe.
Step 2: Resize Your Canvas to Match Your Blog Layout
Blog graphics come in all shapes and sizes—from featured images to Pinterest pins. Resizing your canvas ensures your graphic fits perfectly wherever you plan to use it.
Here’s how:
- Click “Format Canvas” in The Graphics Creator.
- Adjust the canvas size. For blog headers, use 1200 x 750 pixels.
- If needed, change the background color to match your blog’s style.

Step 3: Pick the Perfect Images
Images make or break your blog graphic. You need images that grab attention and clearly convey what your article is about.
Here’s what to tweak:
Objects
- Click on an image within the template to highlight it.
- Use the “Image Menu” to resize, recolor, or delete the object.
- Don’t like an object? Swap it for something else from the Elements tab.
Background Images
- Delete the current background if you want a fresh start.
- Search for new images in the “Photos/Videos” tab.
- Import your own branded photos to keep a consistent style.
Pro Tip: Use relevant images that match your article. Pinterest and search engines love clear, thematic images!
Step 4: Add Text That Pops
Now let’s add the final touch—your blog post’s title or main message.
Here’s how to customize your text:
- Click on a text box to highlight it.
- Double-click to edit and type in your message.
- Want additional text? Click “Edit” > “New Text” and type away.
Your text should be clear, bold, and easily readable—even at a glance!
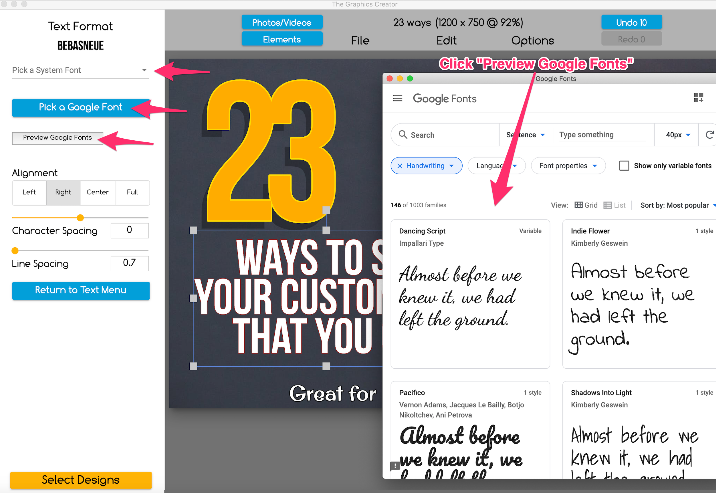
Step 5: Choose a Stylish Font
Fonts set the mood for your graphic. A sleek, modern font can make your blog look professional, while playful fonts add personality.
Here’s how to switch it up:
- Click on “Text Format” to browse hundreds of fonts.
- Highlight your text and choose a new font.
- For a better selection, check out Google Fonts via “Preview Google Fonts.”
Step 6: Download and Save Your Blog Graphic
Time to save your masterpiece!
Go to the “File” menu and select “Download Image.” You can save it as a JPEG (recommended for blogs) or PNG.
Once you do this a few times, you’ll be creating blog graphics in a fraction of the time—it’s seriously that easy!
Now That You’ve Designed Your First Blog Graphic…
Congrats! You just made a professional-looking blog graphic, and you didn’t even have to call in the design squad.
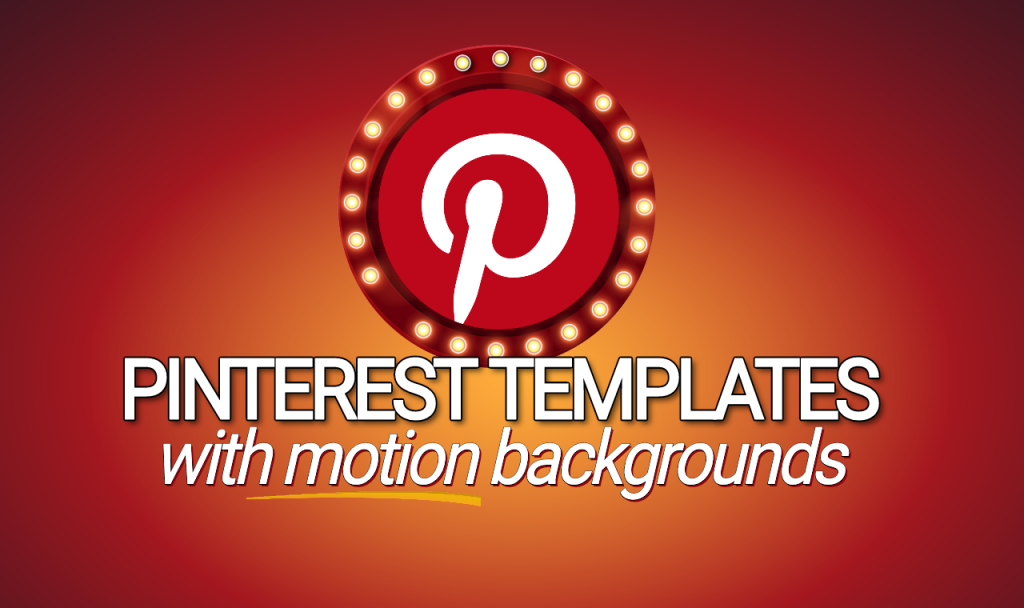
Want to take it up a notch? Check out these ready-made template packs:
FAQs: Blog Graphics Design
Do I need any graphic design experience?
Nope! The Graphics Creator was built for bloggers and content creators with zero design skills.
Can I use my own images?
Absolutely! Just upload your own images directly into The Graphics Creator.
Will these graphics work on Pinterest?
Yes! In fact, Pinterest LOVES eye-catching blog graphics.
Get More DIY Design Inspiration
Want more tips to level up your blog designs? Check out Creatorpreneurs Academy for tutorials and ideas!
